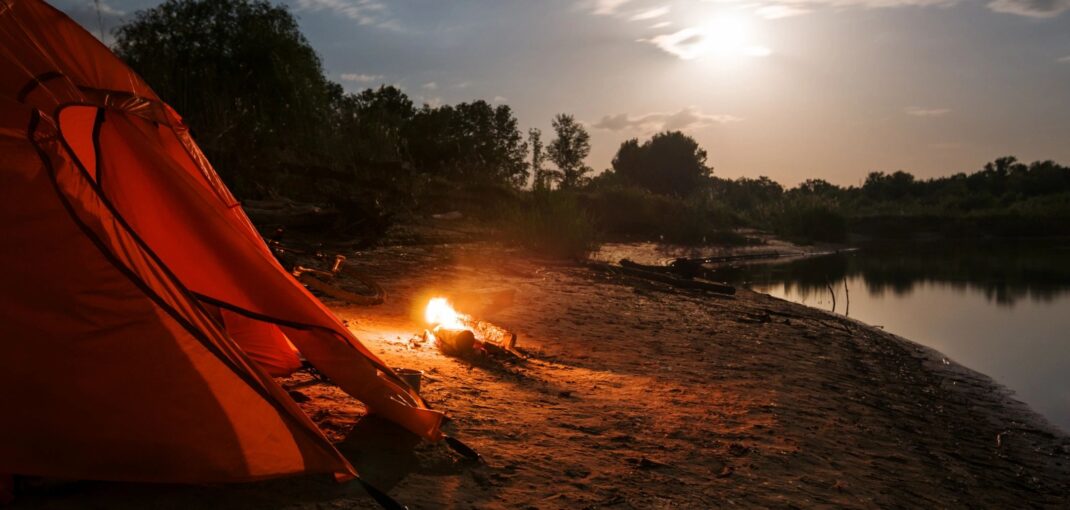
A well-built campfire can be the heart of your outdoor experience, providing warmth, a cooking platform, and a cozy gathering spot. Here’s a guide to creating the perfect campfire:
1. Choose the Right Location
- Designated Fire Pit: If available, always use a designated fire pit or ring.
- Clear the Area: If there’s no fire pit, select a site away from trees, brush, and flammable materials. Clear the area of leaves, pine needles, and other debris.
- Wind Direction: Consider the wind direction to avoid blowing smoke into tents or seating areas.
2. Gather Your Materials
- Tinder: Dry, easily combustible materials such as dry leaves, grass, pine needles, or small twigs. You can also use cotton balls soaked in petroleum jelly.
- Kindling: Small sticks and branches, typically pencil-sized. These catch fire from the tinder and help ignite the larger logs.
- Firewood: Larger logs or split wood, ideally well-seasoned and dry. You’ll need three sizes: small (finger-sized), medium (wrist-sized), and large (forearm-sized).
3. Build the Fire Structure
There are several classic methods for building a fire, each with its advantages:
- Teepee:
- Arrange the tinder in the center.
- Lean the kindling over the tinder in a cone shape, leaving space for airflow.
- Gradually add larger logs around the kindling in the same cone shape.
- Log Cabin:
- Place two small logs parallel to each other with some space in between.
- Lay tinder in the center between the logs.
- Stack two more logs perpendicularly on top of the first two, creating a square.
- Continue layering, alternating directions, and adding kindling inside.
- Lean-to:
- Stick a large log or branch into the ground at a 30-degree angle.
- Place your tinder underneath the lean-to.
- Lean kindling against the large log.
- This structure is useful in windy conditions as it shelters the tinder.
4. Light the Fire
- Matches or Lighter: Use waterproof matches or a lighter to ignite the tinder.
- Start with the Tinder: Light the tinder in several places to ensure it catches well.
- Nurture the Flame: Gently blow on the base of the fire to provide oxygen, helping the flames grow and spread to the kindling.
5. Maintain the Fire
- Add Wood Gradually: Once the kindling is burning strongly, start adding the smaller logs, then gradually introduce larger ones.
- Manage Airflow: Ensure the fire has enough oxygen by leaving space between logs and occasionally fanning the flames if necessary.
- Avoid Overloading: Don’t pile on too much wood at once, as this can smother the fire.
6. Safety Tips
- Keep Water or Sand Nearby: Always have a bucket of water, sand, or a shovel nearby to quickly extinguish the fire if necessary.
- Monitor the Fire: Never leave the fire unattended, even if it seems to be burning well.
- Maintain Control: Keep the fire small and manageable to avoid it spreading beyond your control.
7. Extinguish the Fire Properly
- Let It Burn Down: Allow the fire to burn down to ash as much as possible.
- Douse with Water: Pour water over the fire, stirring the ashes with a stick to ensure everything is thoroughly soaked. Continue until all hissing sounds stop.
- Check for Embers: Carefully feel for heat near the ashes to ensure there are no hidden embers.
- Scatter the Ashes: If appropriate and safe, scatter the cool ashes to disperse any remaining heat.
Following these steps will help you build a safe, efficient, and enjoyable campfire, whether you’re cooking dinner, keeping warm, or just enjoying the ambiance.